Easy steps to fix thread bunching in sewing
Step by step guide to find the solution! Sewing is a rewarding and creative endeavor, but it can be frustrating when you encounter issues like thread bunching. This common problem can lead to poor seams, ruined projects, and a loss of motivation. In this comprehensive guide, we’ll explore the reasons behind thread bunching, how to troubleshoot it, and tips to prevent it in the future. Whether you are a beginner or a seasoned sewist, understanding this issue will enhance your sewing experience.
What Is Thread Bunching?
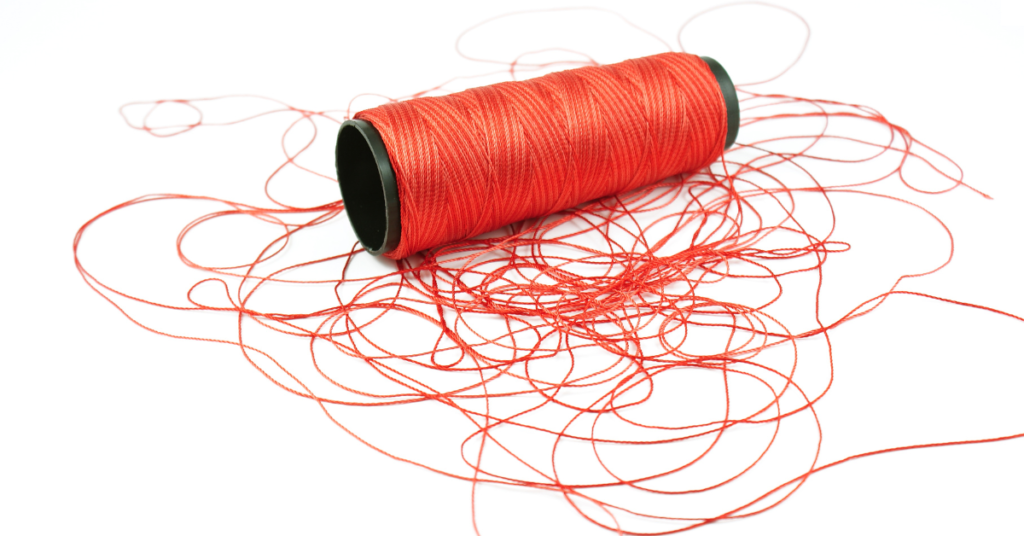
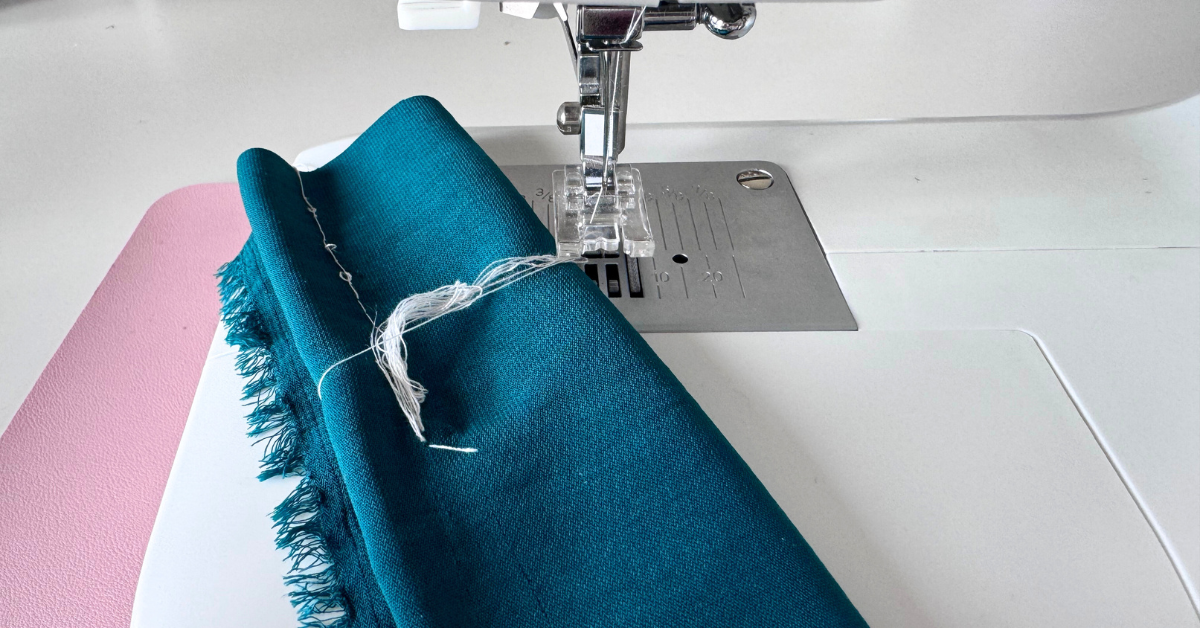
Thread bunching occurs when the thread gathers unevenly during sewing, resulting in tangled clumps of thread on the underside of your fabric. This can create unsightly seams and hinder the overall quality of your work. Addressing this issue promptly is essential for maintaining the integrity of your projects.
Common Causes of Thread Bunching
Understanding the reasons for thread bunching is the first step toward effective troubleshooting. Here are the primary causes:
1. Incorrect Thread Tension
One of the most common issues leading to thread bunching is incorrect tension settings.
- Top Tension Too Tight: If the top thread tension is too tight, it can pull the fabric down and cause bunching underneath.
- Bottom Tension Too Loose: Conversely, if the bobbin tension is too loose, it can allow the top thread to create loops instead of stitching smoothly.
Solution: Check and adjust both the top and bottom tension settings. A standard starting point is to have a balanced tension, typically set between 4 and 5 for most sewing machines.
2. Incorrect Threading
Misthreading your sewing machine can lead to major problems, including thread bunching.
- Top Thread Not Properly Installed: If the thread isn’t sitting correctly in the tension discs or wasn’t threaded through the take-up lever properly, it can create stress during sewing.
- Bobbin Thread Issues: A bobbin that isn’t threaded correctly or is in the wrong position can also contribute to thread bunching.
Solution: Unthread your machine and re-thread it, carefully following the threading diagram usually found on the machine. Ensure that both the top and bobbin threads are correctly placed.
3. Fabric Type and Thickness
Different fabrics have varying thicknesses and textures that can affect how the thread behaves during sewing.
- Using Wrong Needle for Fabric: A needle that’s too large or too small for the fabric can create tension issues, leading to bunching.
- Fabric Bunching: If the fabric is too thick or shifty, it may not feed smoothly through the machine.
Solution: Choose the appropriate needle for the fabric type. For instance, use a universal needle for woven fabrics and a ballpoint needle for knits. Adjust the presser foot pressure if necessary.
4. Dull or Damaged Needles
Dull or bent needles can create a range of sewing problems, including thread bunching.
- Needle Friction: A damaged needle can cause the thread to snag, leading to tangles and loops.
- Incorrect Needle Size: An oversized needle may create larger holes in the fabric, affecting how the thread stitches.
Solution: Regularly change your needle, at least every 8-10 hours of sewing, or whenever you notice any issues. Always use the correct needle size and type for your project.
5. Poor-Quality Thread
Using low-quality or old thread can lead to inconsistencies during sewing.
- Thread Weakness: Poor-quality thread may break more easily, causing erratic stitching.
- Lint Buildup: Low-quality threads can also produce more lint, which can affect the machine’s performance.
Solution: Invest in high-quality thread that is appropriate for the project. Cotton thread is great for most sewing projects, while polyester thread is flexible and durable.
6. Machine Maintenance Issues
Neglecting machine maintenance can lead to several sewing problems, including thread bunching.
- Lint and Dust Buildup: Dirt and lint can accumulate in the machine, affecting the tension and operation.
- Misalignment: If any parts of the sewing machine are misaligned, it can disrupt proper thread feeding.
Solution: Regularly clean your sewing machine, following the manufacturer’s instructions. Ensure that all components are aligned and functioning properly.

Troubleshooting Steps for Thread Bunching
To effectively address thread bunching, follow these troubleshooting steps:
Step 1: Check the Threading
- Unthread the Machine: Take out the thread completely.
- Re-thread the Top Thread: Follow the threading diagram on your machine carefully.
- Replace the Bobbin: Remove the bobbin and check its threading as well.
Step 2: Adjust Tensions
- Test the Tension Settings: Start with the commonly used settings (usually between 4 and 5 for the top thread).
- Do a Test Stitch: Sew a few lines on scrap fabric and observe if the issue persists.
Step 3: Examine Needle Condition
- Visual Inspection: Check for any visible damage or bending.
- Replace If Necessary: Always use a new needle when starting a new project or when experiencing sewing issues.
Step 4: Evaluate Fabric Choice
- Check Fabric Thickness: Compare fabric thickness with your machine’s manual guidelines.
- Switch Needles: If using thicker fabrics, consider using a heavier needle (like a jeans or denim needle).
Step 5: Clean the Machine
- Remove Lint and Dust: Use a soft brush or vacuum attachment to clean around the needle area and bobbin case.
- Oil the Machine: If your machine requires oil, follow the guidelines in the manual.
Preventing Future Thread Bunching
To minimize the risk of thread bunching in future sewing projects, consider these preventive tips:
- Regular Maintenance: Schedule regular cleaning and servicing of your sewing machine.
- Use Appropriate Materials: Always choose the correct thread, needle, and fabric for each project.
- Test First: Before starting on your final piece, practice on scrap fabric to ensure everything is set correctly.
- Keep Threads Untangled: Store threads properly to prevent tangling and damage.
Conclusion
Thread bunching can be a frustrating issue for any sewist, but understanding its causes and solutions can help you confidently tackle this challenge. By checking your machine settings, ensuring proper threading, and maintaining your tools, you can significantly reduce the likelihood of thread bunching.
This knowledge not only improves the quality of your stitching but also enhances your overall sewing experience. Embrace your creativity and continue exploring the wonderful world of sewing with the confidence that you can resolve common issues like thread bunching.


Pingback: 10 Essential Basic Sewing Techniques Every Beginner Should Know | Paurovas