When it comes to sewing, creating garments and projects that stand the test of time often hinges on the quality of the materials and techniques employed. One indispensable material in the sewing world is interfacing. Understanding what interfacing is, the various types available, how to choose the right one for your projects, and how to properly use it can greatly enhance the durability and aesthetic of your sewing creations. In this comprehensive guide, we will dive deep into interfacing in sewing, providing you with everything you need to know to master its implications in your sewing projects.
What is Interfacing?
Interfacing is a type of material used in sewing to provide structure, stability, and support to the fabric of a garment or project. It acts as a layer between the fabric and the interfacing, reinforcing areas that require added strength, such as collars, cuffs, waistbands, and button plackets. While it might not always be visible in the finished garment, its role in enhancing the overall design and structure is critical.
Key Functions of Interfacing
- Provide Structure: Interfacing helps maintain the shape of key areas in garments, ensuring they look crisp and professional.
- Stabilize Fabrics: It prevents stretching and distortion, particularly in lightweight or knit fabrics.
- Enhance Durability: By reinforcing certain areas, interfacing can increase the lifespan of a garment.
- Aesthetic Improvement: It can improve the overall finish of a project, giving it a more polished appearance.
Types of Interfacing
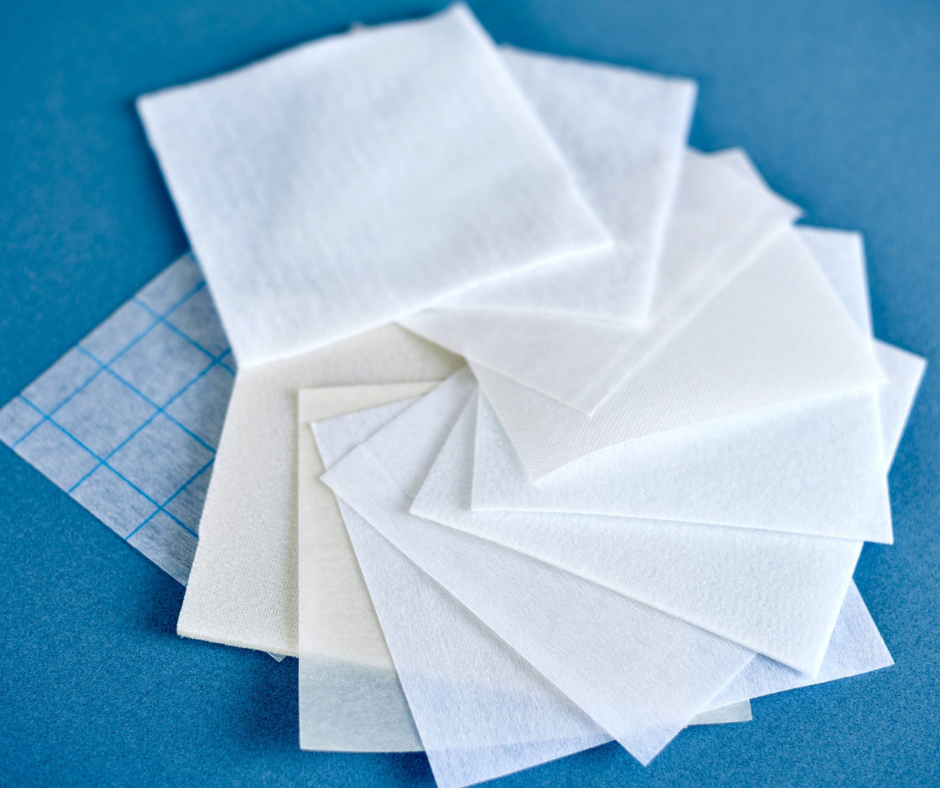
Interfacing comes in various types, each with its unique properties and uses. Understanding these types will help you make informed decisions based on the specific requirements of your project.
1. Fusible vs. Sew-In Interfacing
- Fusible Interfacing: This type of interfacing has a heat-activated adhesive on one side. When you press it with an iron, it adheres to the fabric, making application faster and easier. Fusible interfacing is generally easier to work with and is ideal for most garment construction, especially in lightweight fabrics.
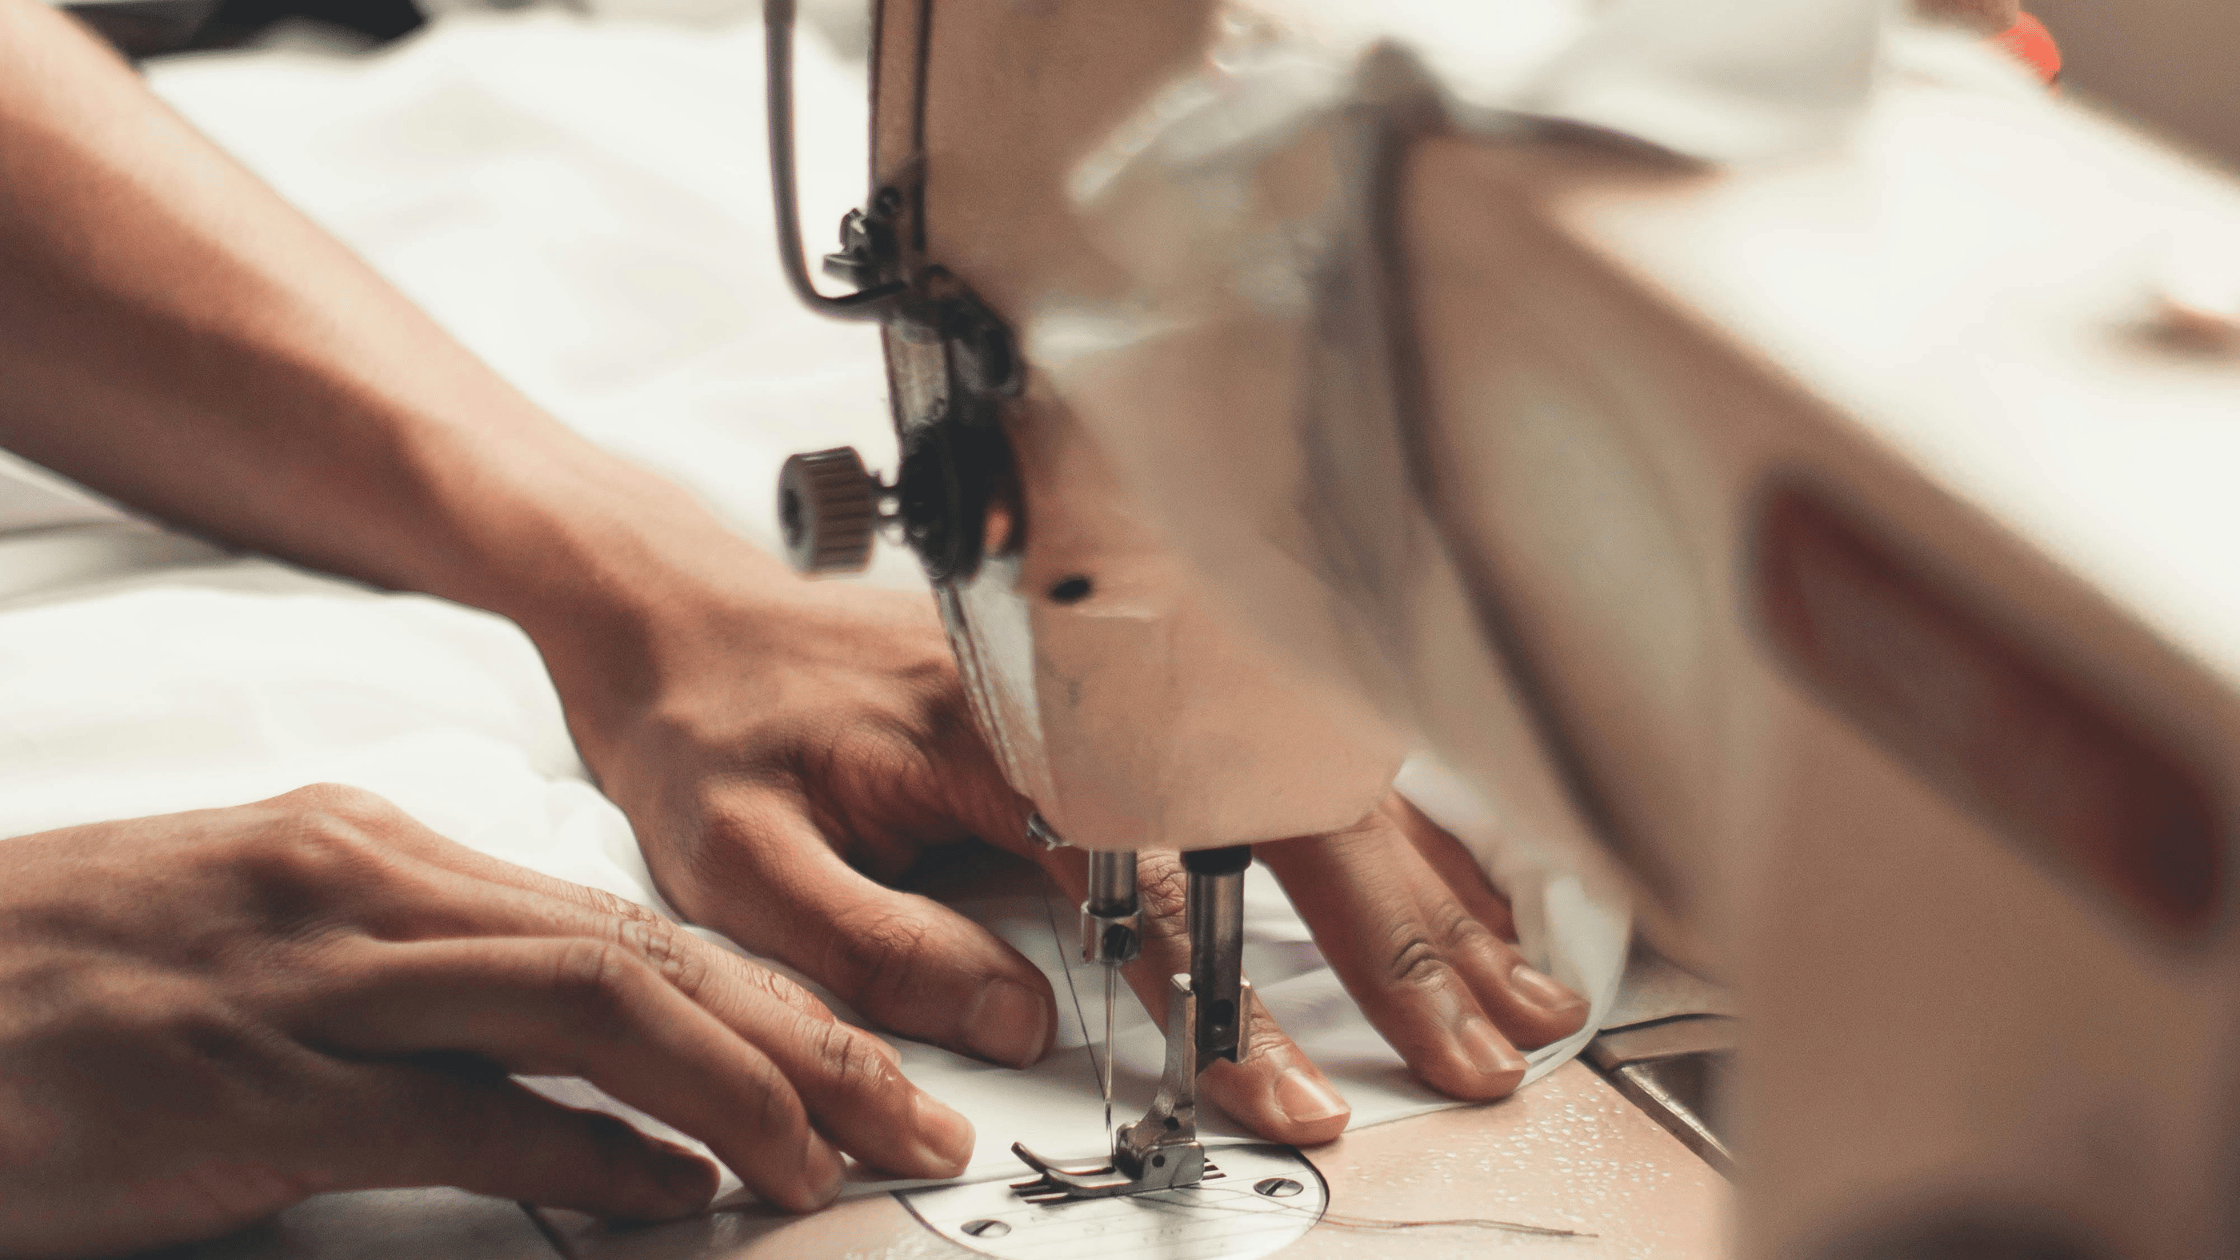
- Sew-In Interfacing: As the name suggests, sew-in interfacing is attached to the fabric by stitching rather than heat. While it’s typically used with heavier fabrics or when more durability is needed, it can be more time-consuming to apply.
2. Weight and Thickness
Interfacing comes in different weights and thicknesses, which will significantly affect your project’s outcome. Here are some common weight classifications:
- Lightweight Interfacing (10-30g/m²): Best for delicate fabrics such as silk or chiffon and applications requiring a soft touch. It is often used in areas like collars and cuffs of blouses.
- Medium-weight Interfacing (60-80g/m²): Suitable for general garment construction and works well with most fabrics. It provides a balance of stability and flexibility.
- Heavyweight Interfacing (100-200g/m²): Used for more structured applications such as tailored jackets, coats, or hold-up straps. It’s ideal for thicker fabrics like denim or canvas.
3. Material Composition
- Paper Interfacing: This type is usually heavier and stiffer, making it suitable for structured designs like tailored suits.
- Non-Woven Interfacing: Made from fibers that are compressed together, non-woven interfacing is strong and typically fusible. It is popular for everyday sewing due to its versatility.
- Woven Interfacing: This type mirrors the characteristics of woven fabrics, offering a more natural drape. It is often used in areas that require a bit more flexibility.
4. Specialty Interfacing
Certain projects might require specialty interfacing, such as:
- Lightweight Nylon: Often used for activewear to provide structure without adding bulk.
- Silicone-Coated Interfacing: Provides extra grip for fabrics that need to stay in place during wear.
How to Choose the Right Interfacing
Choosing the right interfacing for your sewing project is crucial for achieving your desired results. Here’s a step-by-step guide to make the selection process easier:
1. Evaluate Your Fabric
Consider the type of fabric you are working with. Lighter fabrics usually require lighter interfacing, while denim or canvas may need heavier options. Test how the interfacing feels against the fabric to ensure it’s appropriate.
2. Determine the Purpose
Identify which areas of the garment need interfacing. For instance, if you’re sewing a blazer, you might need a heavier interfacing for the collar, while a lightweight interfacing might work for a shirt.
3. Choose Between Fusible and Sew-In
Consider whether you prefer the convenience of fusible interfacing or the strength of sew-in interfacing. Fusible is often quicker and easier, while sew-in is excellent for projects where more durability is necessary.
4. Test First
Whenever possible, always test the interfacing on a scrap piece of the same fabric. This will help you see how it handles when pressed and stitched, and you can also evaluate how it affects the drape and feel of the final garment.
How to Use Interfacing in Your Sewing Projects
Using interfacing correctly is key to ensuring that your finished project looks professional and polished. Follow these steps for effective application:
1. Pre-Wash Your Fabric
Before applying interfacing, wash and dry your fabric as you would for the final garment. This helps prevent future shrinkage, which can distort the shape of your garment.
2. Cut Your Interfacing
Cut your interfacing pieces to the same pattern shape as the corresponding fabric pieces. Remember to add seam allowances if necessary.
3. Fuse or Sew the Interfacing
Depending on whether you are using fusible or sew-in interfacing, apply it as follows:
- For Fusible Interfacing:
- Place the adhesive side of the interfacing against the fabric’s wrong side.
- Press with a hot, dry iron according to the interfacing manufacturer’s instructions (usually a medium heat setting).
- Move the iron slowly and avoid sliding it to prevent shifting any layers.
- For Sew-In Interfacing:
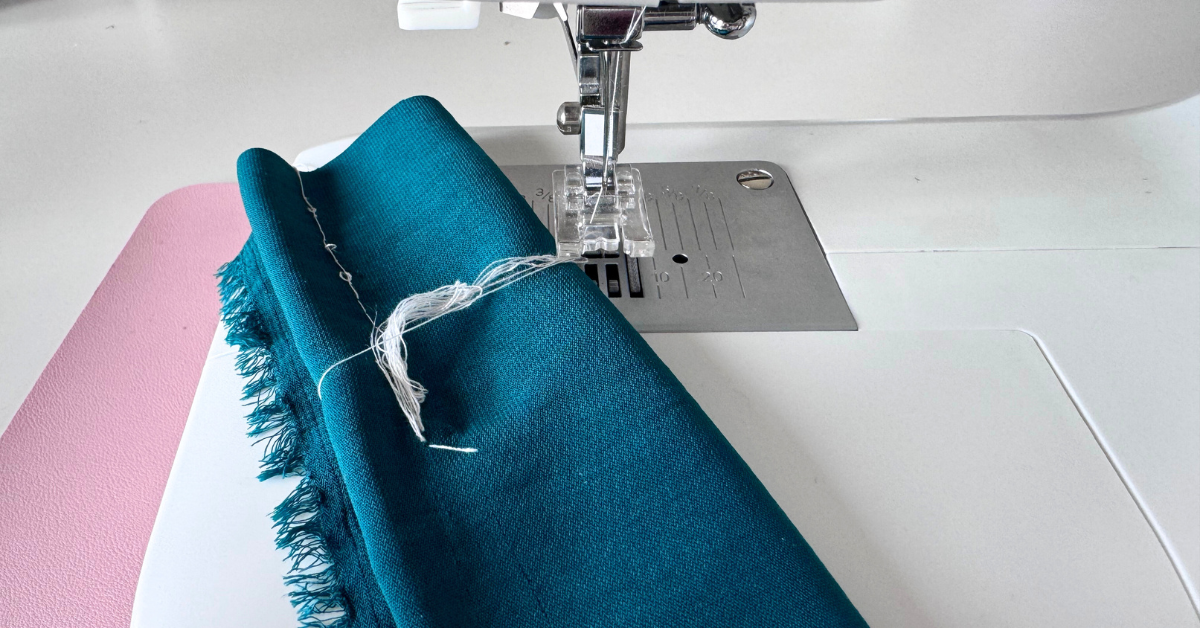
- Pin or baste the interfacing to the wrong side of the fabric securely before sewing.
- Sew around the edges or in a grid pattern to secure it in place.
4. Trim and Assemble
Once the interfacing is applied, trim any excess if necessary, and proceed with sewing your pieces together as per your pattern instructions. Make sure to follow any specific guidelines related to interfacing in your pattern.
5. Press as You Go
Throughout your sewing process, frequently press seams and interfaced areas to ensure crispness and to set the fabric.
6. Final Touches
After you have completed your garment, give it one final press. The interfacing’s job will help ensure that your project retains its shape and structure for years of wear.
Common Mistakes to Avoid
- Using the Wrong Weight: Using interfacing that is too heavy or too light can cause distortion in the fabric, ruining your garment’s appearance. Always match the weight to your fabric type.
- Not Testing: Failing to test on a scrap piece first can lead to unexpected results. Always do a test run!
- Forgetting to Pre-Wash: Overlooking pre-washing your fabric can lead to future shrinkage, which may warp the bonded interfacing.
Conclusion
Interfacing is an essential component in sewing that can dramatically improve the quality and durability of your garments and projects. By understanding what interfacing is, its various types, and how to apply it correctly, you can ensure that your sewing endeavors lead to beautiful, long-lasting results.


