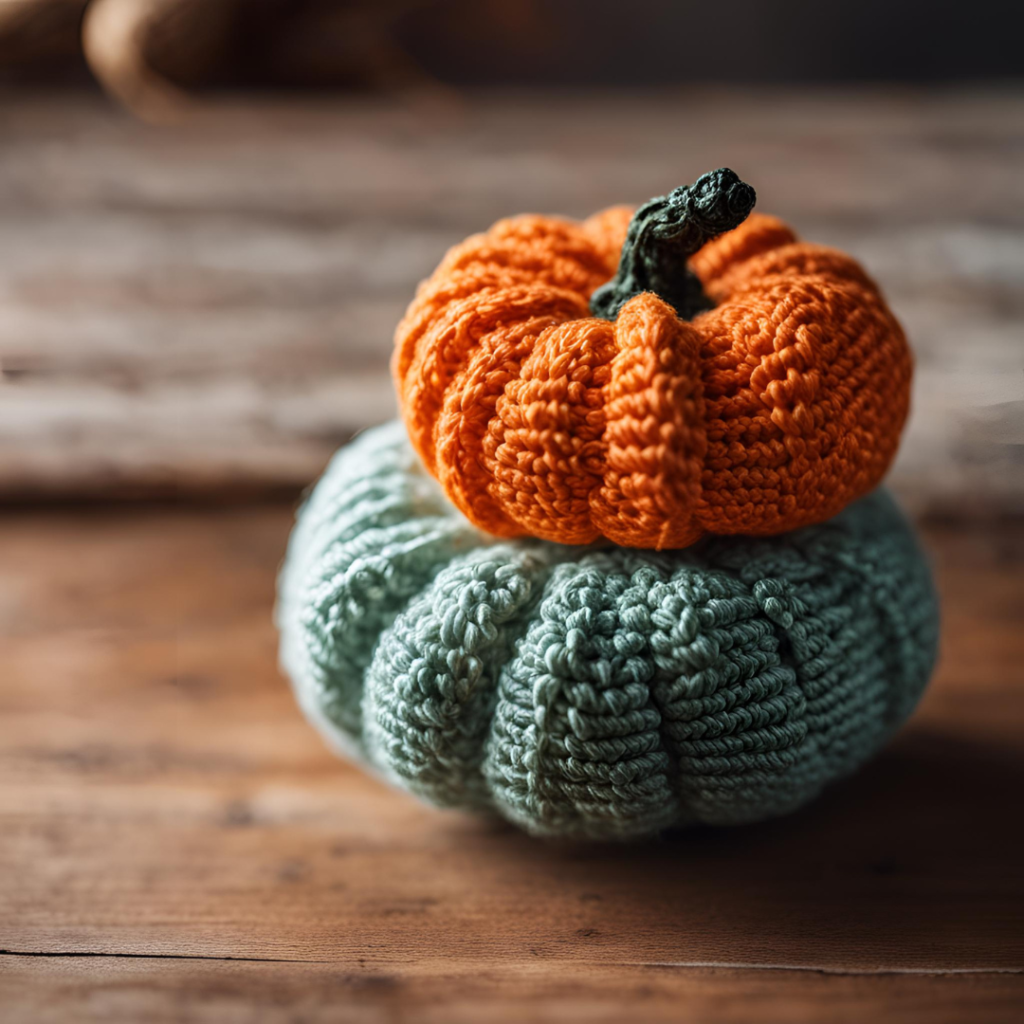
Crocheting pumpkins has grown in popularity, especially as the fall season approaches. These charming creations serve as delightful decorations for both Halloween and Thanksgiving, adding warmth and creativity to your home. Whether you’re a seasoned crocheter or a beginner looking for a fun project, crocheting pumpkins is a rewarding experience that allows for endless customization.
Materials Needed to Crochet a Pumpkin
Essential Supplies
To get started on your crocheted pumpkin, you’ll need the following materials:
- Yarn: Choose worsted weight yarn in shades of orange, cream, or even green for a more unique look.
- Crochet Hook: A size G (4.0 mm) or H (5.0 mm) hook is commonly recommended, but adjust based on your yarn choice.
- Scissors: For cutting yarn.
- Tapestry Needle: For weaving in ends and sewing components together.
Optional Supplies
To enhance your crocheted pumpkin, you might consider:
- Stuffing: Adds a plush effect for a 3D pumpkin.
- Stitch Markers: Helps keep track of rounds and stitches.
- Safety Eyes: For added details, especially if you’re making a cute, cartoonish pumpkin.
- Ribbon or Twine: Perfect for embellishing your pumpkin.
Basic Crochet Techniques for Pumpkins
Understanding Crochet Terms
Familiarizing yourself with common crochet terminology is essential. Here are a few terms you’ll encounter:
- Chain (ch): The foundation of most crochet projects.
- Single Crochet (sc): A basic stitch used in many patterns.
- Slip Stitch (sl st): Used to join rounds or create a seamless edge.
Basic Stitches Used
The following stitches are typically used in crocheting pumpkins:
- Single Crochet (SC): Forms the base of the pumpkin.
- Double Crochet (DC): Adds height and can be used for texture.
- Slip Stitch (SL ST): Used for joining and finishing.
Reading a Crochet Pattern
When tackling a crochet pattern, look for abbreviations and instructions. Understanding the general structure will help facilitate your crocheting experience.
Step-by-Step Instructions for Crocheting a Pumpkin
Pumpkin Pattern
- Round 1: Start with a Magic Ring
- Create a magic ring.
- Inside the ring, crochet 6 single crochets (SC).
- Pull the ring tight to close. (6 SC)
- Round 2: Increase
- In each stitch, crochet 2 SC (increase).
- You should have a total of 12 SC at the end of this round. (12 SC)
- Round 3: Increase
- 1 SC in the next stitch, 2 SC in the following stitch (repeat this pattern).
- Continue around for a total of 18 SC. (18 SC)
- Round 4: Increase
- 1 SC in the next 2 stitches, 2 SC in the following stitch (repeat this pattern).
- You will have 24 SC once completed. (24 SC)
Shaping the Pumpkin
To create the signature pumpkin ridges, do the following:
- Alternate between increasing and single crochet rounds.
- Adjust the size by adding or removing rounds as desired.
Adding Details
- Crochet the Stem: Use a brown or green yarn to create a small cylindrical shape.
- Optional Embellishments: Attach leaves or other decorative accents to give your pumpkin character.
Finishing Touches
Stuffing and Closing the Pumpkin
- Stuff the Pumpkin: Use polyester stuffing to give your pumpkin a plush look.
- Close the Top: Gather the top stitches and secure it tightly to prevent stuffing from falling out.
Adding Embellishments
Consider the following ideas to personalize your pumpkin:
- Use twine or ribbon to tie around the stem.
- Attach safety eyes for a quirky touch.
- Paint details or add fabric for unique designs.
Frequently Asked Questions (FAQs)
Can I Crochet a Pumpkin Without a Pattern?
Yes! Freehand crocheting allows for creativity. You can experiment with different shapes and stitches.
What Type of Yarn is Best for Crocheting Pumpkins?
Worsted weight acrylic or cotton yarn is ideal due to its versatility, durability, and range of colors.
How Do I Care for My Crocheted Pumpkin?
To maintain your crocheted pumpkin, gently spot clean with a damp cloth. Avoid machine washing to prevent distortion.
Conclusion – Recap of the Benefits of Crocheting Pumpkins
Crocheting pumpkins is an enjoyable craft that combines creativity and practicality. The process is not only fun but also provides unique decorations for your home. We hope you feel inspired to make your very own crocheted pumpkin and share your creations!
Please share photos of your crocheted pumpkins in the comments below! Join our community and subscribe for more crochet tutorials and craft ideas. Can’t wait to see what you create!


